
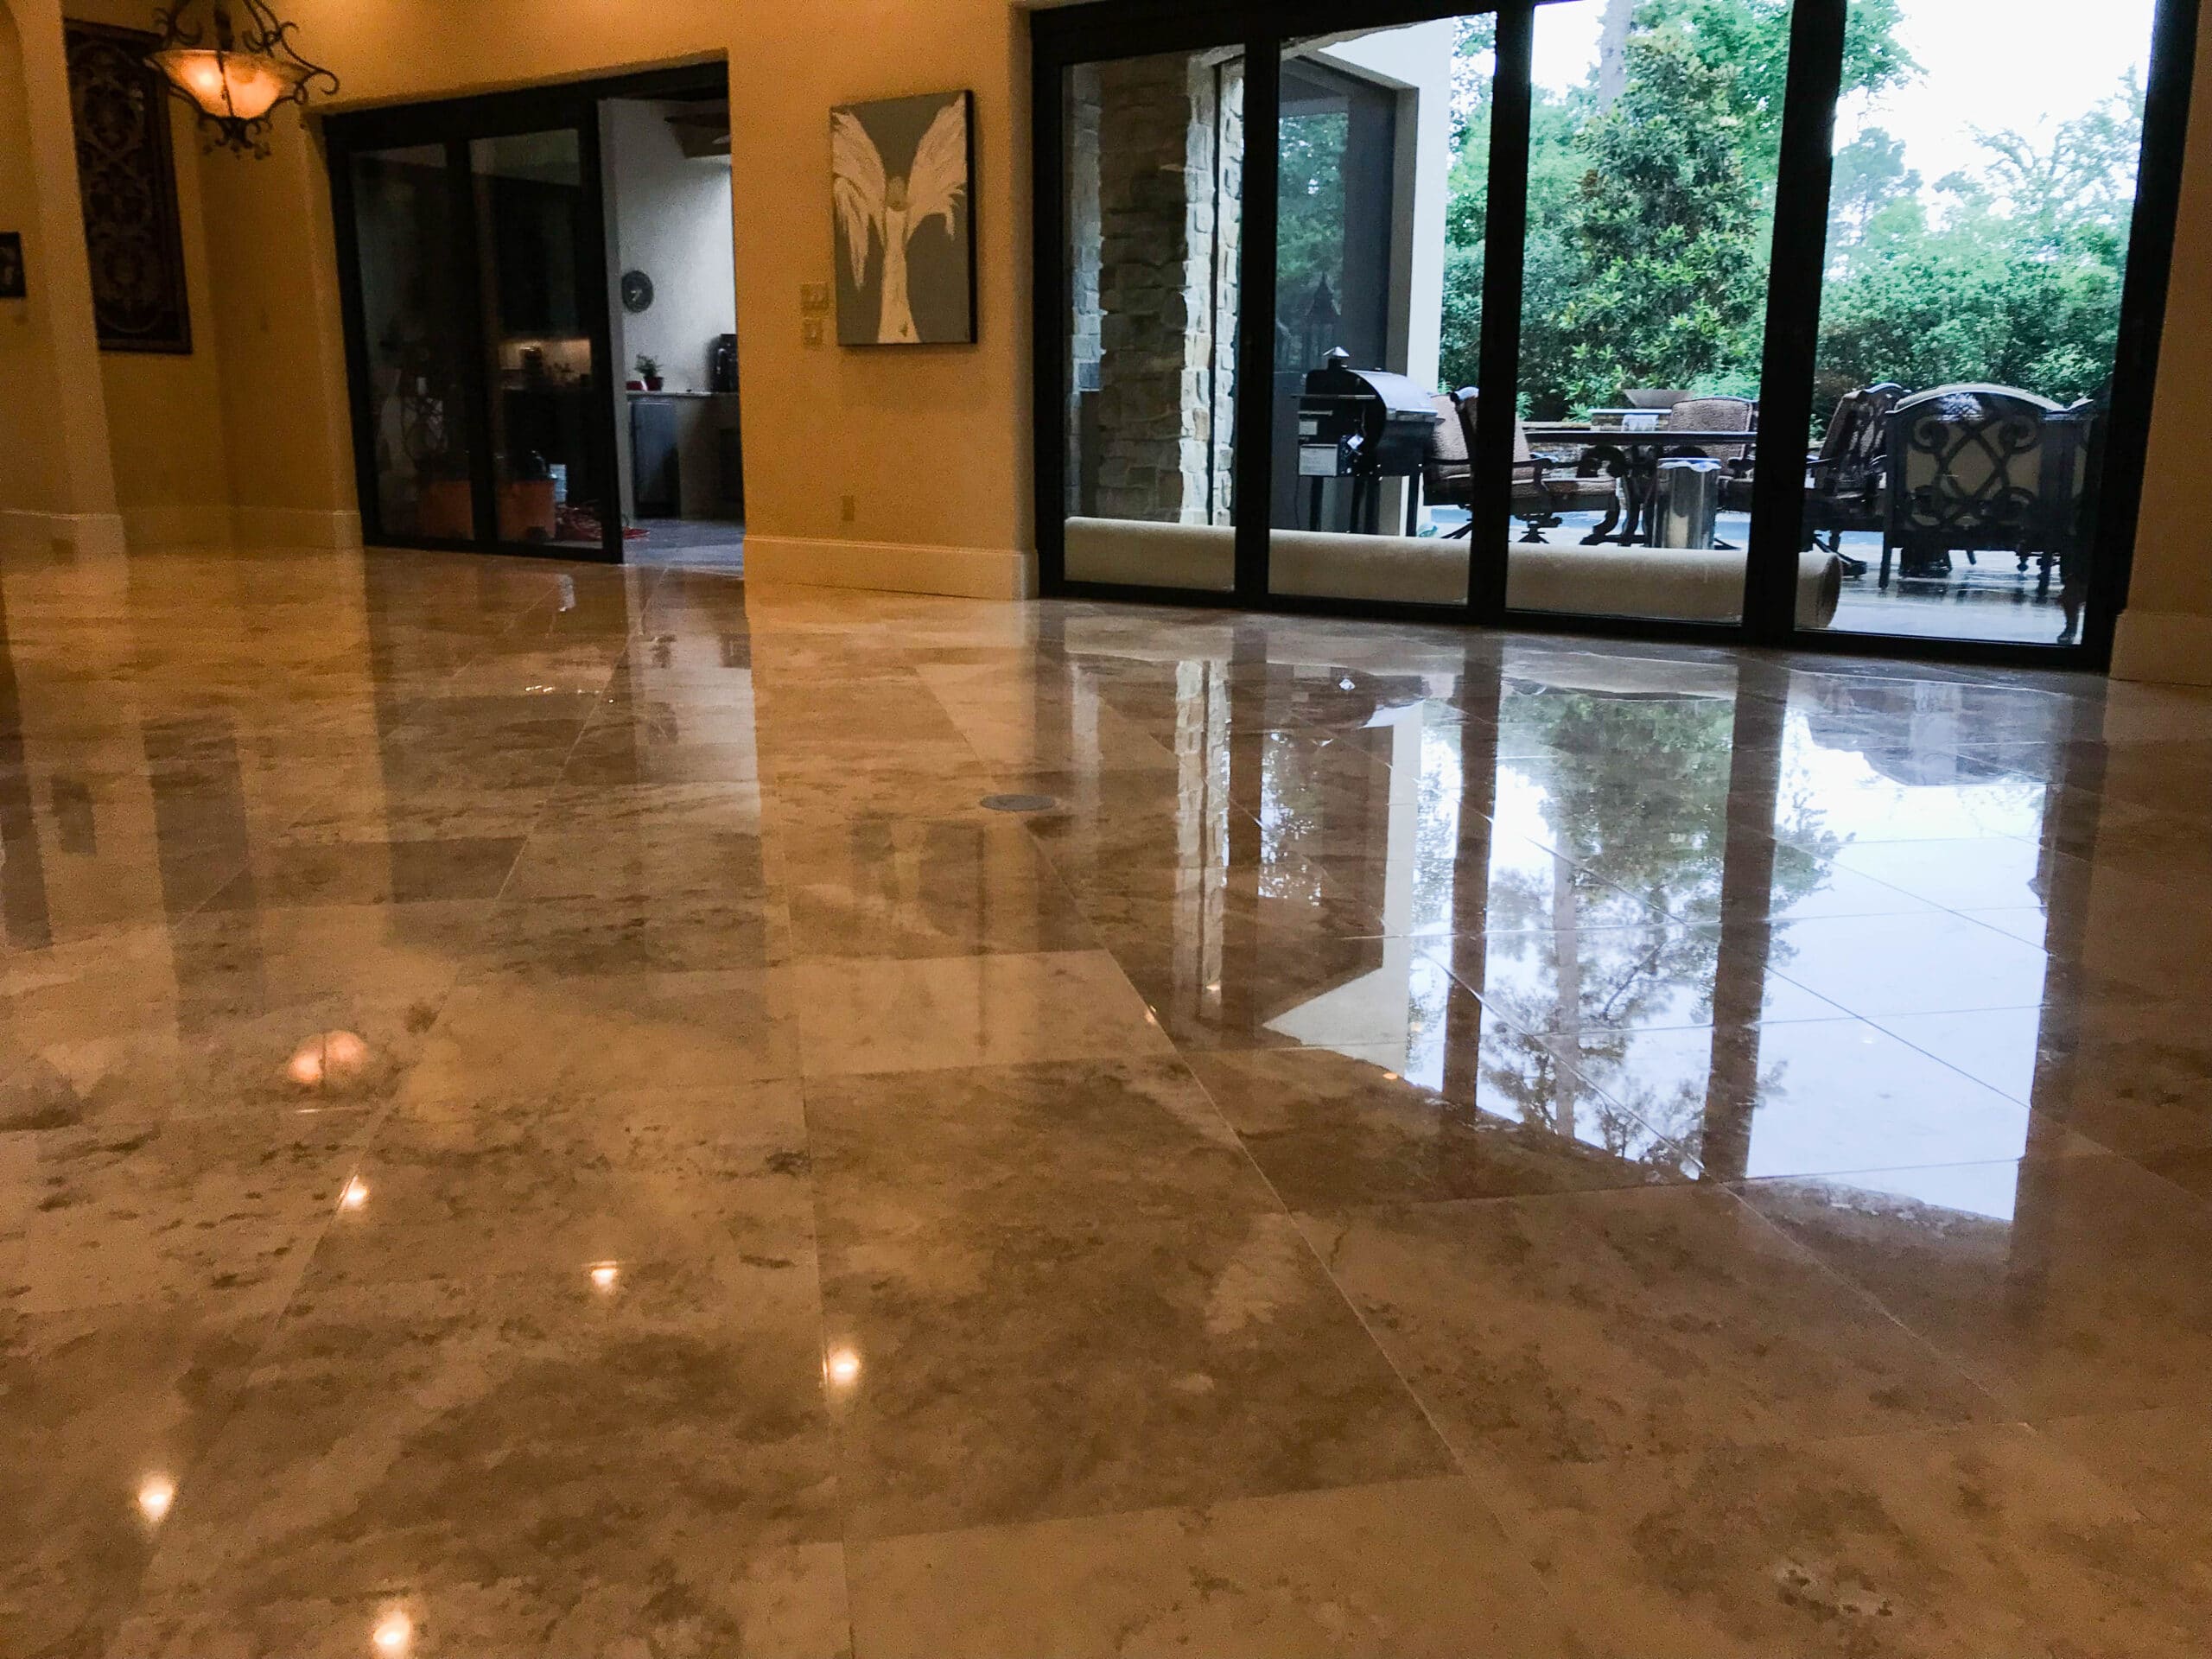
These exquisite travertine surfaces will adorn the rooms and spaces in your house, making them sophisticated with charm and elegance. Just like other natural stones, travertine surfaces need a little bit of TLC to glow. You wonder how regularly you need to restore your travertine so that beauty and durability remain intact?
The travertine can be found in a luxurious bathroom or a milky sun-kissed patio or polished kitchen floor, but the fact remains that it needs care in order to be maintained in great condition. Without maintenance, the stone can get scratches, discolouration, and even stubborn stains which can make it lose its absolute glory. Regular maintenance can prevent the stone from ageing and ensure that it easily lasts for decades.
This blog will cover everything there is to know about travertine restoration. Its unique qualities, tips and tricks, and even a step-by-step on restoration will be discussed in this guide.
Understanding Travertine
Formed from the hot springs limestone, travertine is porous, and therefore its rich texture and earthy tones make it a desire for high-end interiors. Like many other stones that stand out and are unique, it has a side of vulnerability. There is a lot you need to know about this stunning stone.
What Makes Travertine Unique?
Porosity: Its porous nature is the reason why travertine is naturally unique.
That’s why it is very vulnerable to water absorption and other types of stains.
Different Designs: Apart from being polished, honed, or tumbled, this stone can also be designed creatively for different interiors.
Natural Warmth: The natural earthy colours of travertine, which include beige, ivory, and walnut make it easy to blend with other home furnishings.
Drawbacks of Travertine Stone
Scratches: This stone is over-soft and porous, thus it is very prone to scratches and marks especially at high traffic areas.
Stains: From trapped coffee to wine. If it’s not sealed properly, it is very likely for the travertine to soak up liquids and get damaged.
Erosion: Daily wear-and-tear or exposure to acidic substances can erode the surface over time.
By understanding these properties, one learns how and when to restore this beautiful natural stone.
Indications That Your Travertine Is In Need Of Restoration
You may have noticed some of these signs, but how do you know when your travertine is in need of restoration? Watch out for these common signs.
Dullness Might Set In: If over-polished travertine pieces start to lose, restoration may be needed to enhance its beauty.
Tenacious Stains: If marks refuse to go, it is time for some restoration work.
Chips: Voids like damaged chipping require instant requirements.
Etches: Virtually all travertine is susceptible to etching from lemon juice, vinegar, and other acidic substances.
Worn Area: Parts of your travertine may become worn and uneven over time.
If you have seen any of these signs, restoration sounds like the right option for you when it comes to bringing your travertine back to life.
How to Restore Travertine in Steps
Restoring your travertine may feel like too much work, but the trick here is to take it step by step, which makes it a whole lot easier. Here’s an outline that may help.
Step 1: Wipe the Surface
Start with some thorough mopping to remove dirt, grime, and any surface stains. A specialised pH neutral solution works best for natural stone.
Step 2: Block Filler Cracks/Chips
A travertine filler that smoothly blends with the colour of travertine works best on chips or cracks. Remember to smooth it out as well, which creates a flawless look.
Step 3: Surface Hone
Honing consists of abrasive usage in removing scratches or etches from the surface. This part of the process evens out the surface.
Step 4: Polish If You Wish
If your stone is polished to finish, apply a refined polishing compound to it and let it rejuvenate your stone.
Step 5: Seal It Up
Always remember to seal the stone with a layer of high sealers, which protects the stone from stains and damage in the future. This cures prolonging the lifespan of your travertine.
You can either attempt this yourself, or hire someone else, depending on the size of the damage.
Professional vs. DIY Restoration
Both professional restoration and DIY have their advantages – the more optimal option will depend on how much budget you have available, your expertise, and how serious the travertine problems are.
Professional Restoration
Pros
No redoes necessary with experienced workers on the job.
Easy for you, hard for the professionals.
Overwhelming damage can be addressed.
Cons
Using DIY will prove to be cheaper.
Difficult to collaborate with the providers.
DIY Restoration
Pros
More affordable
All excellent for smaller surface problems.
Flexibility to work at your own schedule.
Cons
Higher chances of errors.
Avoidable at times.
Substandard results are likely.
Think before taking the plunge whatever route you wish to pursue, consider the benefits and drawbacks.
Tips for Maintaining Your Restored Travertine
Once your travertine is restored, how do you preserve it from degradation and ensure that costly restorations are not needed frequently? Here are easy but effective ways.
Seal Regularly: Ensure to reapply sealer every 1-2 years to make your travertine resistant to stains.
Use Proper Cleaners: Use non-abrasive, pH neutral cleaners made for natural stones only.
Clean Spills Immediately: Reduce your chances of staining by quickly wiping up liquids.
Place Rugs or Mats: Obtain rugs or mats for places susceptible to high foot traffic like entryways.
Avoid Harsh Chemicals: Do not use any acidic cleaners when cleaning such as vinegar or bleach.
Restoration is a strenuous, time-consuming task but these steps can help make the burden somewhat easier.
Preserving the Value of Travertine Restoration
A beautiful natural stone, travertine can enhance the beauty of any area with its timeless appeal. With the right restoration techniques and maintenance, travertine can be ensured to remain in, and a focal point of the house, for several decades without suffering from premature ageing.
Whatever method you opt for—whether DIY or professional restoration—the essential focus has to be on monitoring the condition of the travertine, along with acting immediately when indications of wear are noticed. Remember, it is better to stop a problem before it occurs than it is to try to deal with it after it has occurred.
Do you have more questions about caring for travertine? Let us know your queries in the comment box below. We would love to get back to you.